This fun, simple watercolor project is a great way to play with paint and colors. It’s also ideal for kids to help with and can make the perfect gift for Mother’s or Father’s Day, birthdays, or Christmas!
Before we begin, you will need watercolor paper, brushes, paints, and masking fluid. Like almost anything you can buy, there are a whole range of products available, from lower quality and cheaper to high quality and expensive. It can take some experimenting to figure out what you can skimp on, and what items are worth spending a bit more for. Ultimately, this project will be fun and beautiful no matter what price range you are working from. However, I’ve found that the results of my work can withstand, say, a cheaper brush, but is much more vivid and smooth when I pay a bit more for good paints. These are my suggestions for materials that are a good balance of budget and quality!
Paint-
Brush-
Brushes are a bit more forgiving, in my experience. While, especially when working on involved pieces or detailed commissions, a high quality brush is more reliable and easy to work with, for *most* of the painting I do, I have been quite satisfied with what might be considered “budget” brushes. These can be purchased from your local hobby store, Amazon, or Blick Art Supplies. While there are all kinds of fun brushes to choose from and add to your collection, a #4 or #6 round are the most versatile.
Paper-
This is another area where quality actually does matter quite a bit. Colors will mix, blend, and dry so much more beautifully on good paper. When I paint to create prints for my shop, I used Arches paper blocks, which are pretty pricey. Thankfully, there are some options that offer quality paper without such a high price tag. I’ve been pleased with Strathmore watercolor paper. You will also have to choose whether or not you want hot or cold pressed
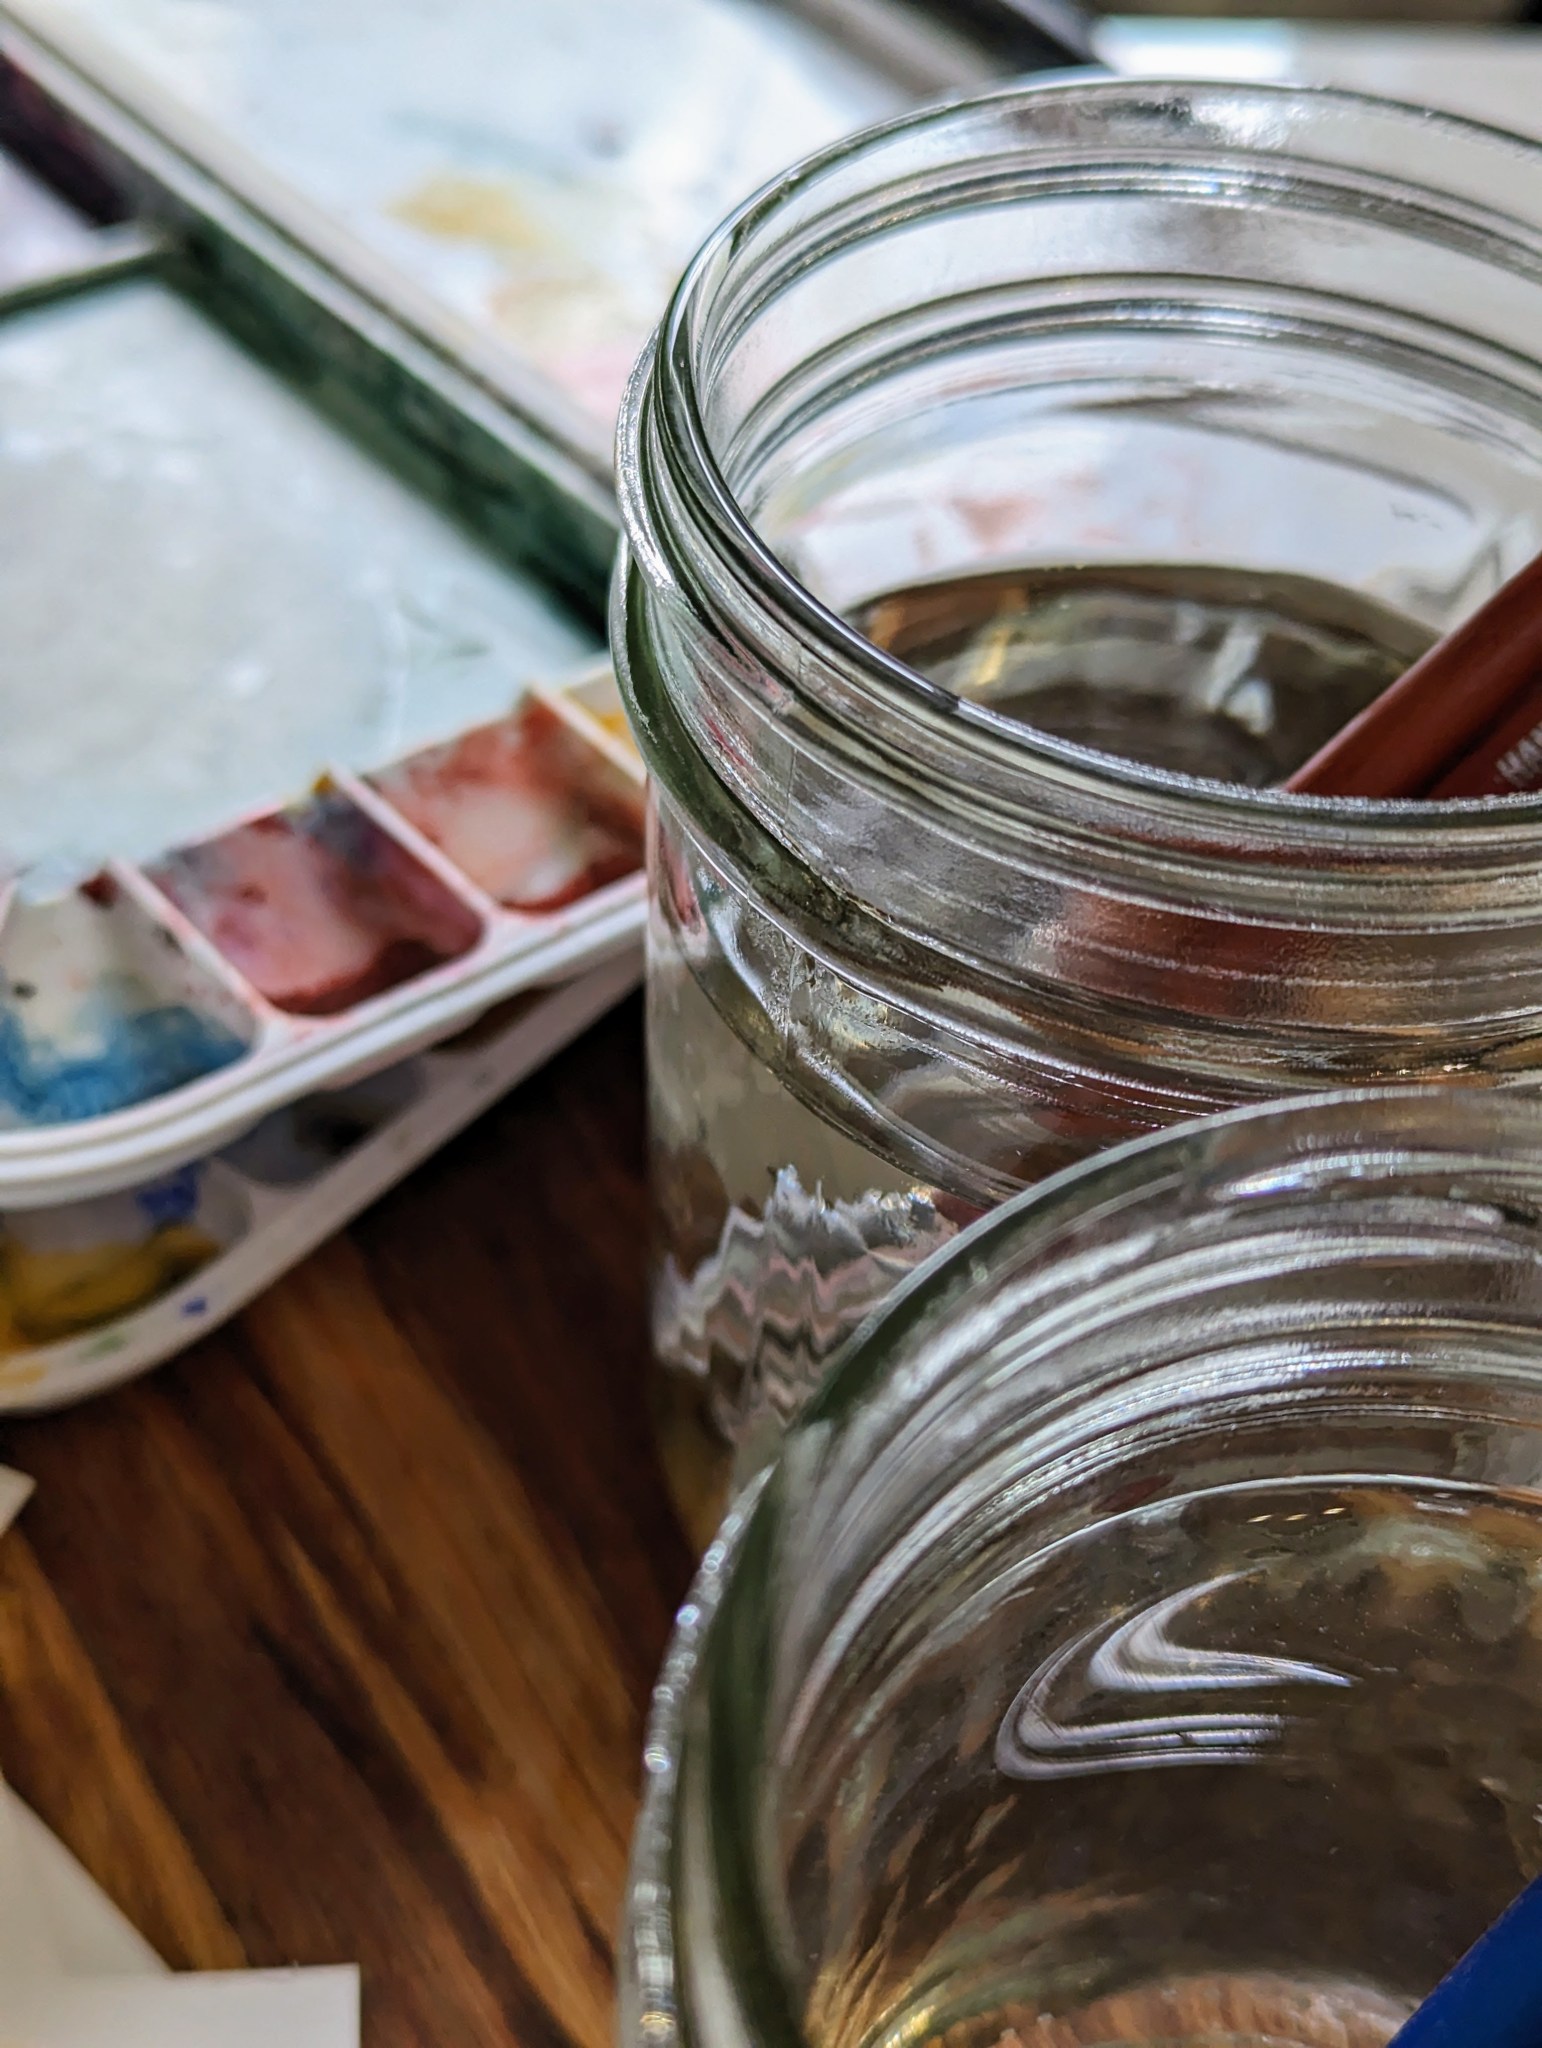
paper. Hot pressed paper is smooth, and in my experience, requires a bit more physical blending of the colors. Cold pressed paper has some texture, and the colors seem to run and blend on their own a bit more. Both are fine options; it may be fun to experiment a bit and see which kind you prefer!
Masking Fluid-
Masking fluid is a substance that you apply to watercolor paper in areas where you want to preserve the layer underneath. While I use it in a variety of ways in my own pieces, in this project, we’ll utilize masking fluid to create white designs in the middle of colorful watercolors. There are masking fluid options that come in applicator bottles, which is very handy. I’ve always just purchased it in a regular bottle and used an old paintbrush to apply it. It dries rapidly, so you have to work quickly, and you must immediately rinse the brush when you are done or the masking fluid will gum it up and it will be ruined. I use an old, cheap brush so that it doesn’t matter if it ends up in the garbage.

Watercolor Line Art Project Directions:
- Select your paper and cut to size if necessary. I used pre-cut 5×7 hot pressed paper sheets, which was the perfect size for our purposes.
- Using an applicator bottle or paint brush, apply masking fluid to the paper in whatever design you want. You can do a scene, or a pattern; it can be stripes, dots, or something more intricate. I did a page of butterflies, a page of flowers, a page of hearts, and a page of circles so that each of my four kids could have one to paint. Once you have applied the masking fluid, allow to dry completely (it will look yellowish).
- Paint the paper with watercolors! This works so well with kids because they can spill/mix/slop/brush any colors all over the page, which they have so much fun with, without being precise. This looks best if the entire page is covered in color.
- Allow the watercolor to dry.
- When the colors are dry, gently rub the masking fluid until it begins to peel away from the paper. Continue to carefully remove it until it is gone, and you have revealed the white paper underneath.
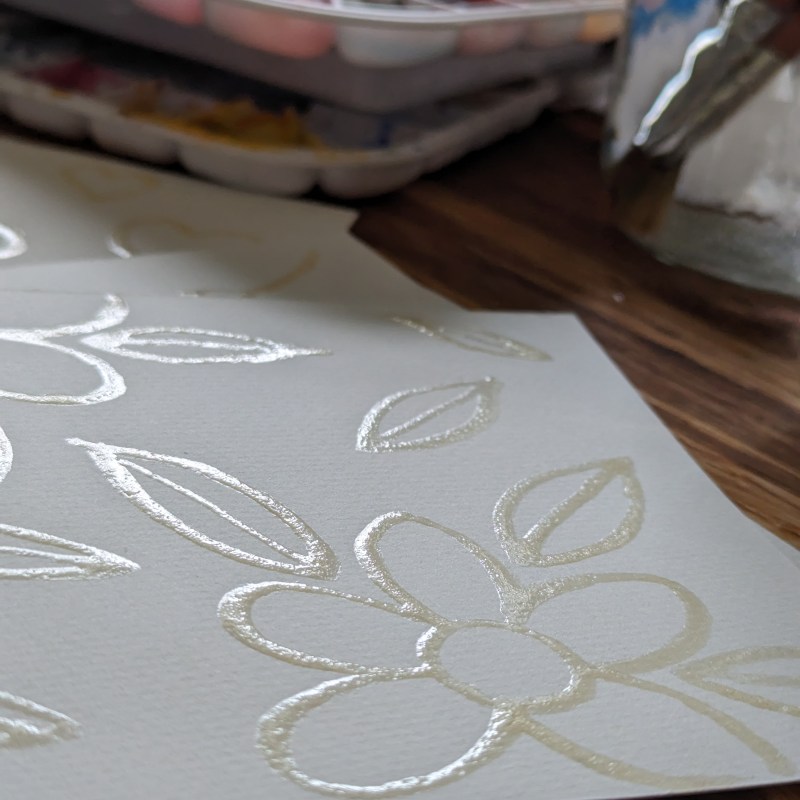

When you are finished, you should have something that looks rather like this…beautiful, swirling colors cut through by crisp white lines in a pretty design.
For this particular project, I arranged the pieces in a frame to gift to my mom for Mother’s Day. You could do the same, or frame individually; you could tie them into a book, hang them on the fridge, or use as a bookmark, depending on the size of paper you used. So many possibilities!
This is a fun way to dip your toes into watercoloring, if it’s something you don’t have much experience in. Experiment with mixing colors and see how they blend and move on the paper. Observe the beautiful swirls and lines the paints create on the paper when they dry. Develop some color combinations that you would love to use in the future. And most of all….have fun!
More of a visual learner? Watch me and my kids make this project on Youtube
